How to use Yajra Datatables in Laravel 9
Datatables is an awesome jQuery-powered table viewer. It adds advanced controls to HTML table, such as pagination, sorting, and search.
In this tutorial, we will show you how to use Yajra Datatables, which is a Laravel wrapper for Datatables.
Create Database Schema
The following scripts are supposed to run from your command line terminal.
- Login to MySQL console:
mysql -u root -p
- Create a demo databas:
CREATE DATABASE datatables_laravel_9;
I am assuming the root user has full access to the datatables_laravel_9 database. If not, you need to assign the permissions correctly.
Laravel Setup
- Install a brand-new Laravel project via composer
composer create-project laravel/laravel datatables-laravel-9
- Modify the environment variables in the
.envto give database permissions to:
DB_DATABASE=datatables_laravel_9
DB_USERNAME=root
DB_PASSWORD=root
Update your own DB_USERNAME and DB_PASSWORD accordingly.
- Start the Laravel dev server by running the command below.
cd datatables-laravel-9
php artisan serve
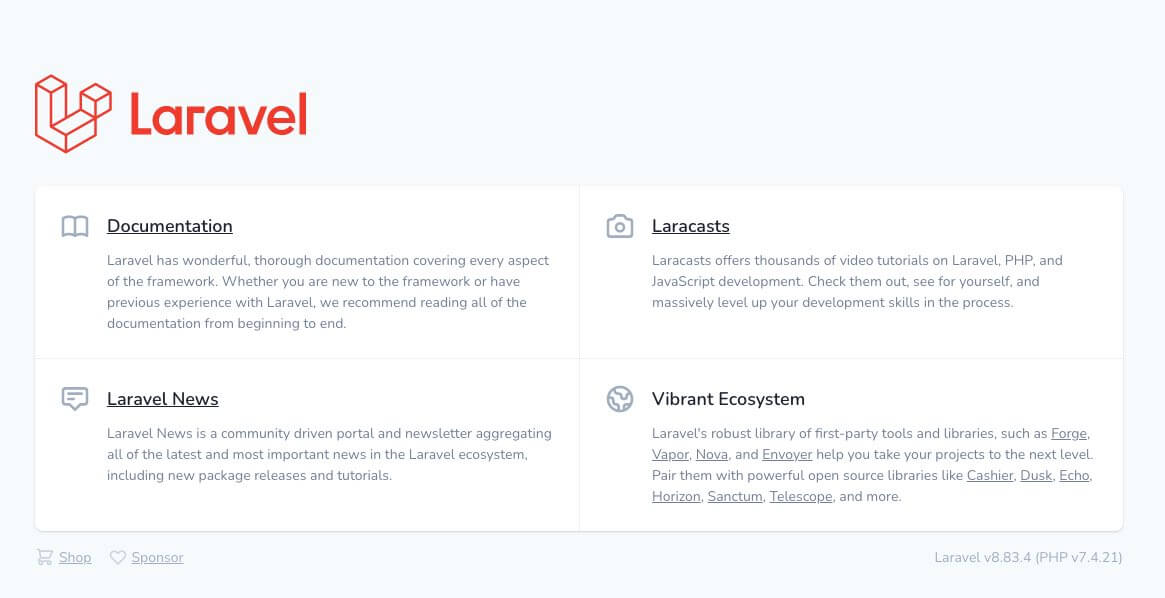
You should see the default Laravel welcome page by accessing http://127.0.0.1:8000/ from your browser:

Data Setup
We need some data to demonstrate the use of Datatables powered HTML table. In this step, we will create some data with minimum efforts. We are going to use the default Laravel users table as the data source.
- Run migration to create some Laravel's default database tables:
php artisan migrate
- Create some dummy data for
userstable, run the command below from your terminal:
php artisan tinker
User::factory()->count(20)->create();
This will create 20 records in your users table.
Yajra Datatables Setup
Now we are going to pull in Yajra Datatables packages.
- Install the PHP packages
composer require yajra/laravel-datatables-oracle
composer require yajra/laravel-datatables-buttons
- Publish the configuration file
php artisan vendor:publish --tag=datatables
php artisan vendor:publish --tag=datatables-buttons
Work on the Datatables Model
Yajra Datatables creates its data model to handle the server-side configuration, run the command below to create a Yajra Datatables model.
php artisan datatables:make Users
It should create a file at app/DataTables/UsersDataTable.php. And we will keep the content of this file as:
<?php

namespace App\DataTables;

use App\Models\User;
use Yajra\DataTables\Html\Button;
use Yajra\DataTables\Html\Column;
use Yajra\DataTables\Html\Editor\Editor;
use Yajra\DataTables\Html\Editor\Fields;
use Yajra\DataTables\Services\DataTable;

class UsersDataTable extends DataTable
{
    /**
     * Build DataTable class.
     *
     * @param mixed $query Results from query() method.
     * @return \Yajra\DataTables\DataTableAbstract
     */
    public function dataTable($query)
    {
        return datatables()
            ->eloquent($query)
            ->addColumn('action', 'users.action');
    }

    /**
     * Get query source of dataTable.
     *
     * @param \App\Models\User $model
     * @return \Illuminate\Database\Eloquent\Builder
     */
    public function query(User $model)
    {
        return $model->newQuery();
    }

    /**
     * Optional method if you want to use html builder.
     *
     * @return \Yajra\DataTables\Html\Builder
     */
    public function html()
    {
        return $this->builder()
                    ->setTableId('users-table')
                    ->columns($this->getColumns())
                    ->minifiedAjax()
                    ->dom('Bfrtip')
                    ->orderBy(1)
                    ->buttons(
                        Button::make('print'),
                        Button::make('reset'),
                        Button::make('reload')
                    );
    }

    /**
     * Get columns.
     *
     * @return array
     */
    protected function getColumns()
    {
        return [
            Column::computed('action')
                ->exportable(false)
                ->printable(false)
                ->width(60)
                ->addClass('text-center'),
            Column::make('id'),
            Column::make('name'),
            Column::make('email'),
            Column::make('created_at'),
            Column::make('updated_at'),
        ];
    }

    /**
     * Get filename for export.
     *
     * @return string
     */
    protected function filename()
    {
        return 'Users_' . date('YmdHis');
    }
}
Work on the Datatables Front-end
In this step, we need to set up the Javascript and CSS stuff for Yajra Datatables.
- Install Javascript
npm install datatables.net-bs4 datatables.net-buttons-bs4 bootstrap@4.6.0 popper.js jquery
- Edit
resources/js/bootstrap.jsand append the following libraries:
window.$ = require('jquery');
window.jQuery = require('jquery');

require('bootstrap');
require('datatables.net-bs4');
require('datatables.net-buttons-bs4');
- Now run the command below to verify the result:
npm run dev
You should see a Laravel Mix message indicating successful compilation.
-
Install CSS file
-
Edit
resources/css/app.cssand append the followings:
@import '~bootstrap/scss/bootstrap';
@import "~datatables.net-bs4/css/dataTables.bootstrap4.css";
@import "~datatables.net-buttons-bs4/css/buttons.bootstrap4.css";
- Now run the command below to verify the result:
npm run dev
You should see a Laravel Mix message indicating successful compilation.
Work on the Controller
- We need a layout file too. Create a layout file at
resources/views/layouts/app.blade.phpwith the content below:
<!DOCTYPE html>
<html lang="{{ str_replace('_', '-', app()->getLocale()) }}" class="h-full">
<head>
    <meta charset="utf-8">
    <meta name="viewport" content="width=device-width, initial-scale=1">
    <meta name="csrf-token" content="{{ csrf_token() }}">

    <title>{{ config('app.name', '') }}</title>

    <!-- Styles -->
    <link rel="stylesheet" href="{{ mix('css/app.css') }}">

</head>
<body>

<div class="container">
    @yield('content')
</div>


<script src="{{ mix('js/app.js') }}"></script>
<script src="{{ asset('vendor/datatables/buttons.server-side.js') }}"></script>
@stack('scripts')
</body>
</html>
- Create the controller by running the command below:
php artisan make:controller UsersController
This should create a file at app/Http/Controllers/UsersController.php, its sole purpose is to render the Datatables instance:
<?php

namespace App\Http\Controllers;

use App\DataTables\UsersDataTable;

class UsersController extends Controller
{
    public function index(UsersDataTable $dataTable)
    {
        return $dataTable->render('users.index');
    }
}
- Create a Laravel view for the index action above at
resources/views/users/index.blade.php:
@extends('layouts.app')

@section('content')

    <div class="mt-5">
        <h1 class="mb-5">Laravel 9 with Yajro Datatables</h1>

        {{$dataTable->table()}}
    </div>

@endsection

@push('scripts')
    {{$dataTable->scripts()}}
@endpush
As we can see, in the view file we are calling the $dataTable->table() to render the Yajra Datatables instance.
- Lastly we create a route to view the page. Append the following route to the
routes/web.phpfile:
Route::get('/users', [UsersController::class, 'index']);
End Result
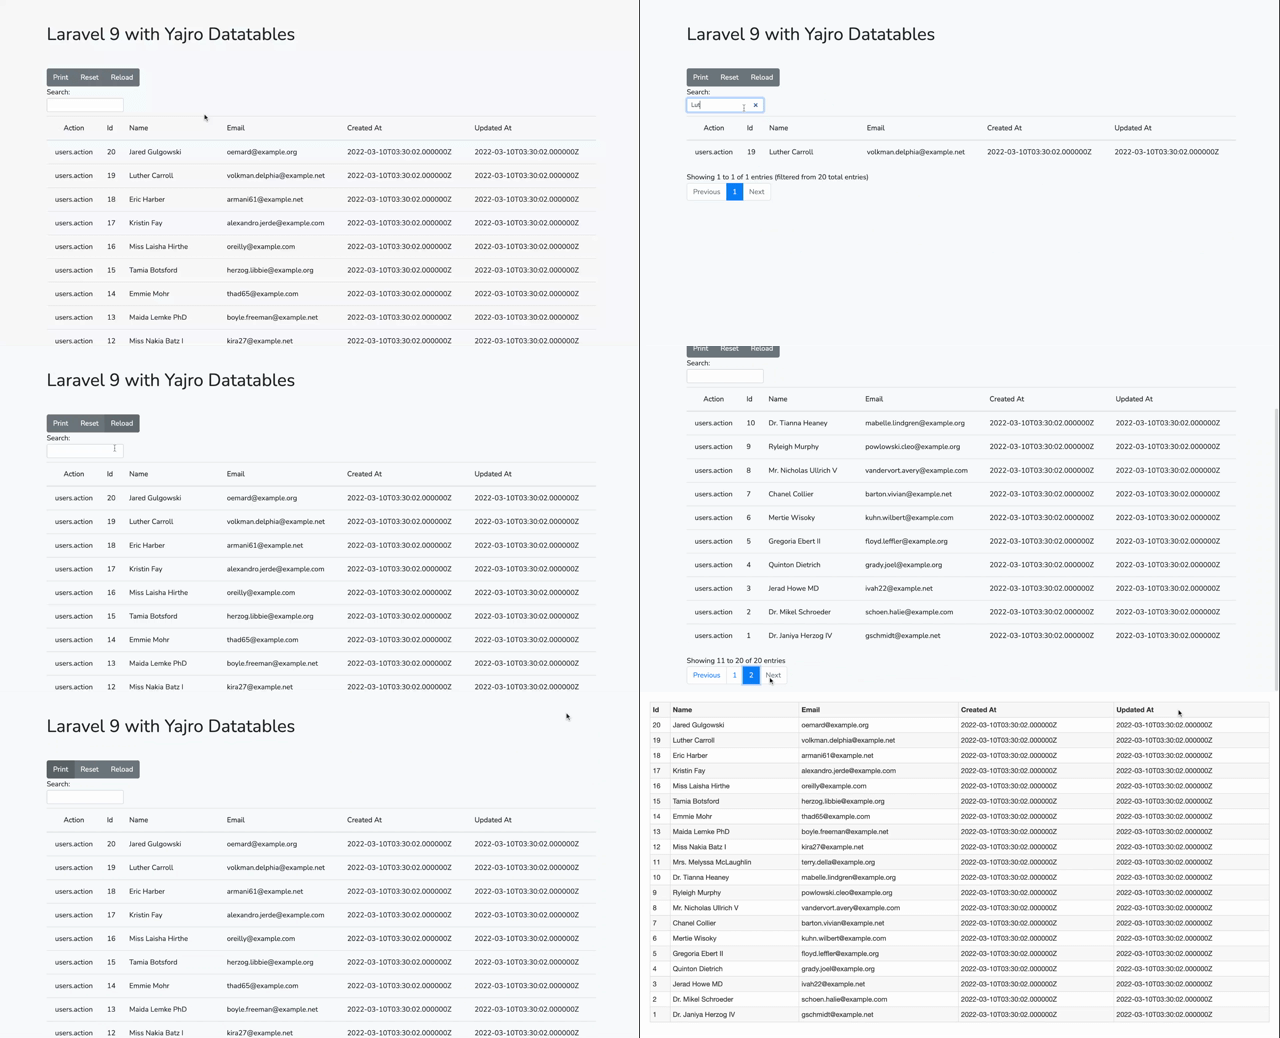
Now head to http://127.0.0.1:8000/users from your browser. You should see a nicely working Datatables powered HTML table:

 Build stunning websites faster with our pre-designed Tailwind CSS templates