DropzoneJs + PHP: How to build a file upload form
- DropzoneJs + PHP: How to build a file upload form
- DropzoneJs + PHP: How to display existing files on server
- DropzoneJS + PHP: The complete guide
DropzoneJS is an open source library that provides drag'n'drop file uploads with image previews. It is a great JavaScript library which actually does not even rely on JQuery. In this tutorial, we are building a multiple file upload form using DropzoneJS, and the backend will be handled by PHP.
Preparation
- Download DropzoneJS from this URL. We are using version 2.0.12 by the time of writing this tutorial. But this tutorial works perfectly with latest version 4.x. DropzoneJS does not rely on JQuery, you will not have to worry that, upgrading JQuery version breaks your application.
- Download dropzone.css from this URL, if you want some already made css.
- Create a folder "uploads", this is for storing uploaded files.
- Create a file "index.php", this is for the front form page.
- Create a file "upload.php", this is for handling backend file upload process.
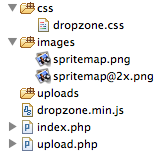
Your folder&file structure should look like this after the preparation:
Work with DropzoneJS
Open file "index.php" and let us create a DropzoneJs form.
Copy the content below to "index.php" and we will go through each line of code individually.
<html>

<head>

<!-- 1 -->
<link href="css/dropzone.css" type="text/css" rel="stylesheet" />

<!-- 2 -->
<script src="dropzone.min.js"></script>>

</head>

<body>

<!-- 3 -->
<form action="upload.php" class="dropzone"></form>

</body>

</html>>
- Include the CSS Stylesheet.
- Include DropzoneJS JavaScript library.
- Create an upload form with css class "dropzone" and "action" is "upload.php". Note that we did not create any input filed, and did not declare enctype of the form. This is all handled by DropzoneJS library itself. All we need to do is assign css class "dropzone" to the form. By default, DropzoneJS will find all forms with class "dropzone" and automatically attach itself to it.
Now go to browser, and navigate to "index.php", you should be able to see a page as below:

However it is not quite done yet, we will still have to code for the file uploading process.
Work with PHP
Now you have come to Last part of the tutorial. In this section, we will store files sent from DropzoneJS to the "uploads" folder.
Open "upload.php" and copy the content below:
<?php
$ds          = DIRECTORY_SEPARATOR;  //1

$storeFolder = 'uploads';   //2

if (!empty($_FILES)) {

    $tempFile = $_FILES['file']['tmp_name'];          //3

    $targetPath = dirname( __FILE__ ) . $ds. $storeFolder . $ds;  //4

    $targetFile =  $targetPath. $_FILES['file']['name'];  //5

    move_uploaded_file($tempFile,$targetFile); //6

}
?>
- Store directory separator (DIRECTORY_SEPARATOR) to a simple variable. This is just a personal preference as we hate to type long variable name.
- Declare a variable for destination folder.
- If file is sent to the page, store the file object to a temporary variable.
- Create the absolute path of the destination folder.
- Create the absolute path of the uploaded file destination.
- Move uploaded file to destination.
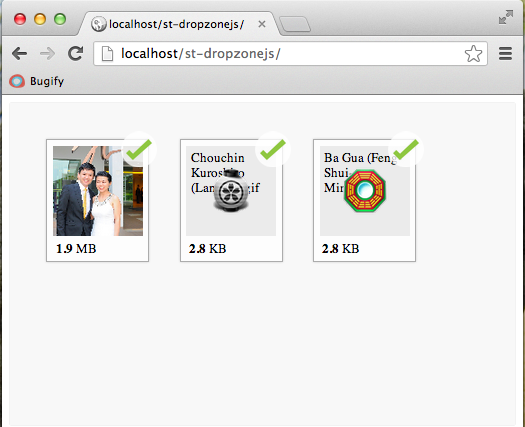
Now go to browser, and try DropzoneJS upload form again, it should work nicely:
4.Troubleshoot
If you encounter any uploading issues related to PHP or server, you can check out this page, where we discuss some common Move_uploaded_file problems.
If you encounter any DropzoneJS issues, please check out its official page.
5.The end
Hopefully this simple tutorial helped you with your development. If you like our post, please follow us on Twitter and help spread the word. We need your support to continue. If you have questions, do leave a comment below to let us know.